


Good news! Hanging Wallpaper is very easy.
Our wallpaper is made with the Paste The Wall system, which means that its reverse side is designed in such a way that it does not expand when wetted, therefore it is not necessary to glue the back of the paper first. You only have to apply the glue / adhesive on the wall, which will save a lot of time and work. And since you put the dry paper on the wall, it is much easier to cut it to the necessary size.
In addition, it is also much easier to remove in case you want to give a new change.
So ... EASY, FAST AND CLEAN What more could you ask for?
TOOLS YOU WILL NEED:
TO PREPARE YOUR WALL:
- Wall filler
- Sandpaper
TO INSTALL THE WALLPAPER:
- Sharp craft knife and or,
- Wallpaper scissors (to cut the paper)
- Wallpaper paste
- Bucket - to mix the paste in
- Plumb line or spirit level
- Tape measure
- Paint brush or Roller and Roller tray - for applying the paste
- Wallpaper brush or smoother - for ensuring paper is stuck down
- Seam roller - to ensure seams are level
- Clean damp cloth - to clean off any paste on wallpaper surface or smooth seams
STEP BY STEP
1. PREPARE YOUR WALL --------------------------------------------------------------------------------------------------------------------------- |
|
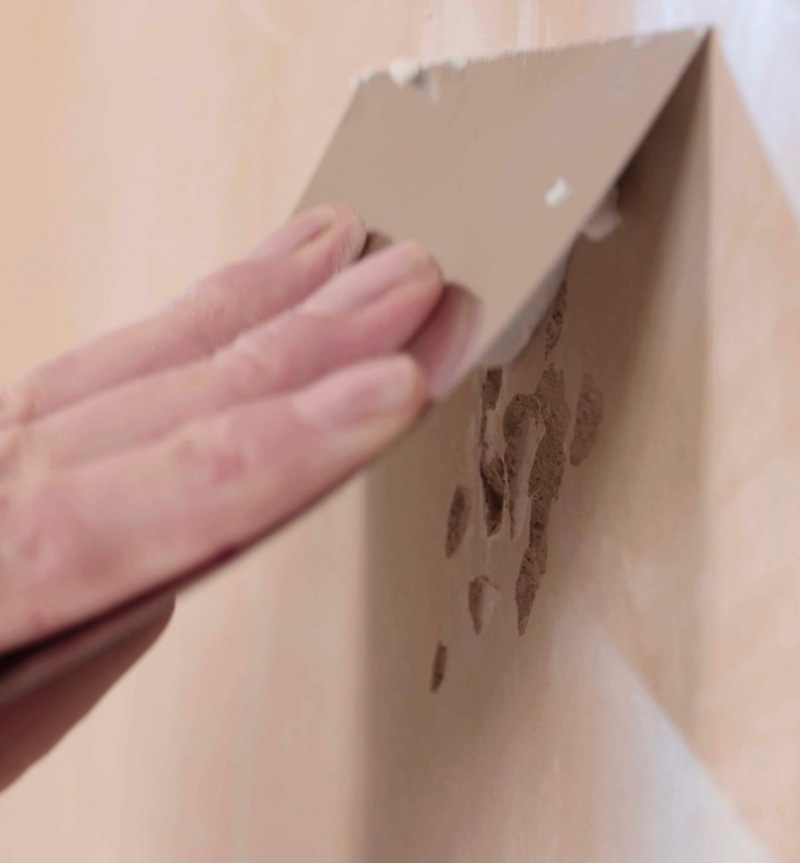 |
1. Fill and sand any cracks or imperfections on your wall. |
| 2. Clean the wall with detergent or sugar soap. | |
| 3. On fresh plaster, “size” the wall – this means make up a diluted solution of paste and liberally apply to the walls being decorated and let it dry. | |
| 4. This will be absorbed into the porous plaster and will stop the paste being absorbed when it is applied. | |
2. MEASURE AND PLAN WHERE TO START ------------------------------------------------------------------------------------------ |
|
| 1. Consider the light in the room. If you are wallpapering the whole room start with strong natural light and move away from there, if creating a feature wall this is less relevant. | 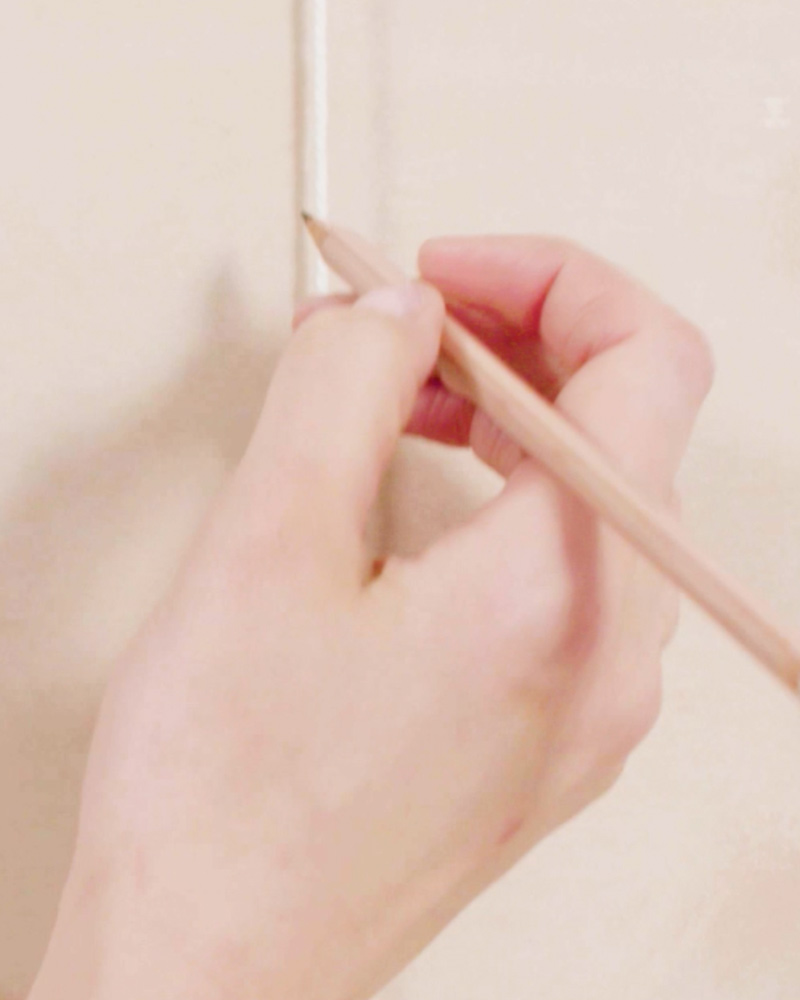 |
| 2. The first “drop” of wallpaper is key as all others will align to it, so it is important to ensure it is “plumb” otherwise your wallpaper could look wonky. | |
| 3. From the left-hand corner of the wall you are about to decorate measure 50cm and make a pencil mark to give you your starting point. | |
| 4. Using this mark, draw a plumb line using either a plumb-bob or spirit level. A plumb line is a vertical straight line, from which you will hang the first “drop” of wallpaper against and ensure it is hangs straight down. | |
3. APPLY THE WALLPAPER PASTE --------------------------------------------------------------------------------------------------------------- |
|
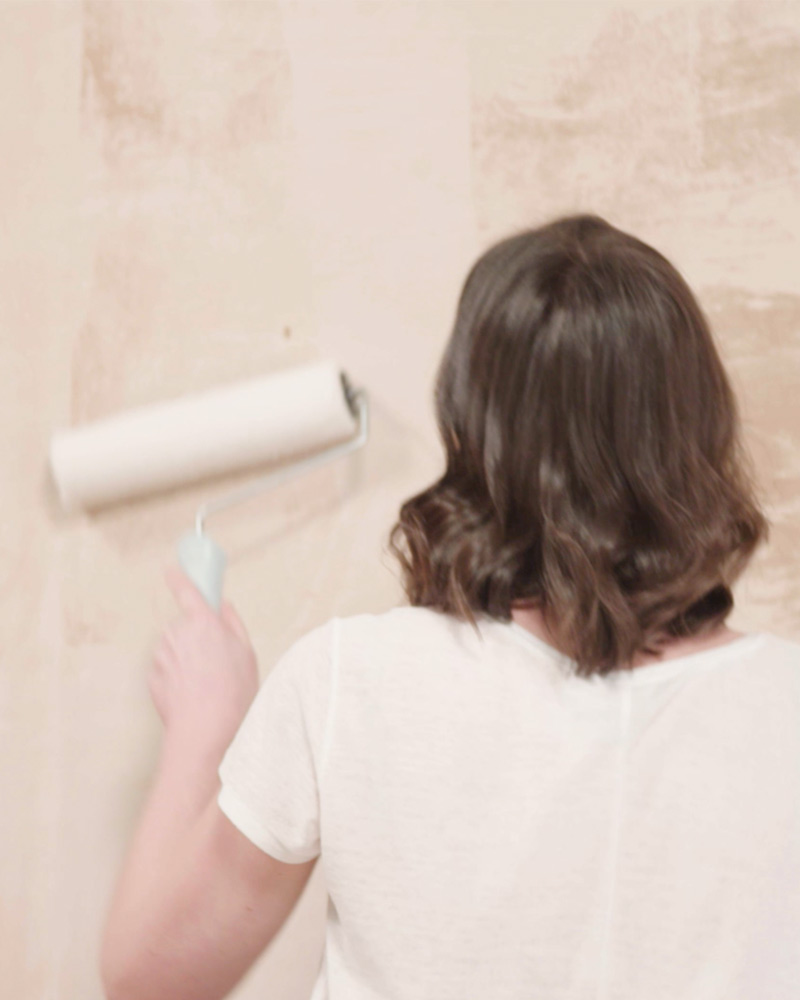 |
1. Apply the paste liberally to the wall, ideally with a roller (it’s quicker). You can paste over the plumb line and make sure you apply paste a couple of centimetres wider than the wallpaper you are about to hang. This means you can hang the second “drop” of wallpaper without worrying about applying paste over the first “drop”. |
| 2. Use a 2” paint brush to add paste at the top of the wall, around sockets, or just above the skirting. This will ensure even coverage in difficult areas and avoid the wallpaper “lifting” when dry. | |
4. APPLY THE WALLPAPER TO THE WALL--------------------------------------------------------------------------------------------------------- |
|
| 1. The wallpaper can be hung dry from the roll. Use ladders to get to the ceiling or coving, and allow a little extra product, e.g 2-3cm at the top. | 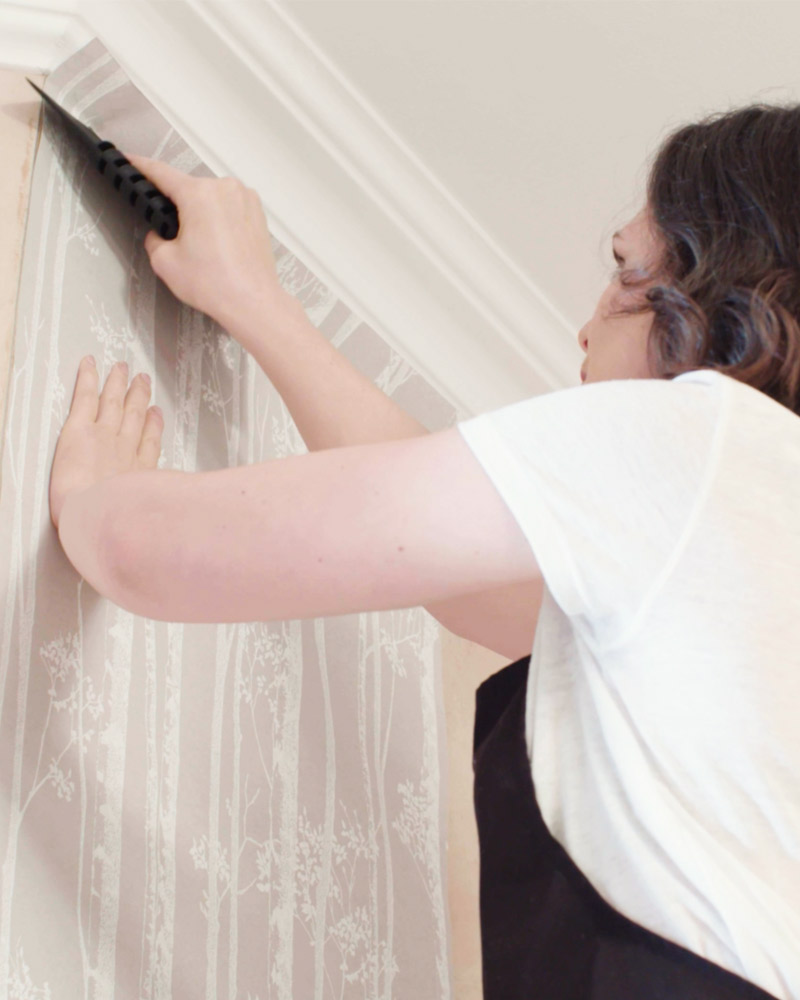 |
| 2. As you hang from the roll lightly brush into place as you go down to the skirting board. Here you can lightly push the paper to the wall. Leave the roll on the floor. | |
| 3. Ensure that the paper is in the correct position and is vertically correct. Brush down the paper with the smoothing brush from the centre to the edges of the roll. | |
| 4. Cut the excess paper at the top and bottom with a knife or wallpaper scissors. | |
CONGRATULATIONS, YOU'VE JUST HUNG YOUR FIRST PIECE OF WALLPAPER!
| 5. Working to the right of this first “drop”, paste the wall again allowing a few centimetres wider than the width of the wallpaper. You should see you don’t need to get close to the first drop of paper when doing this | 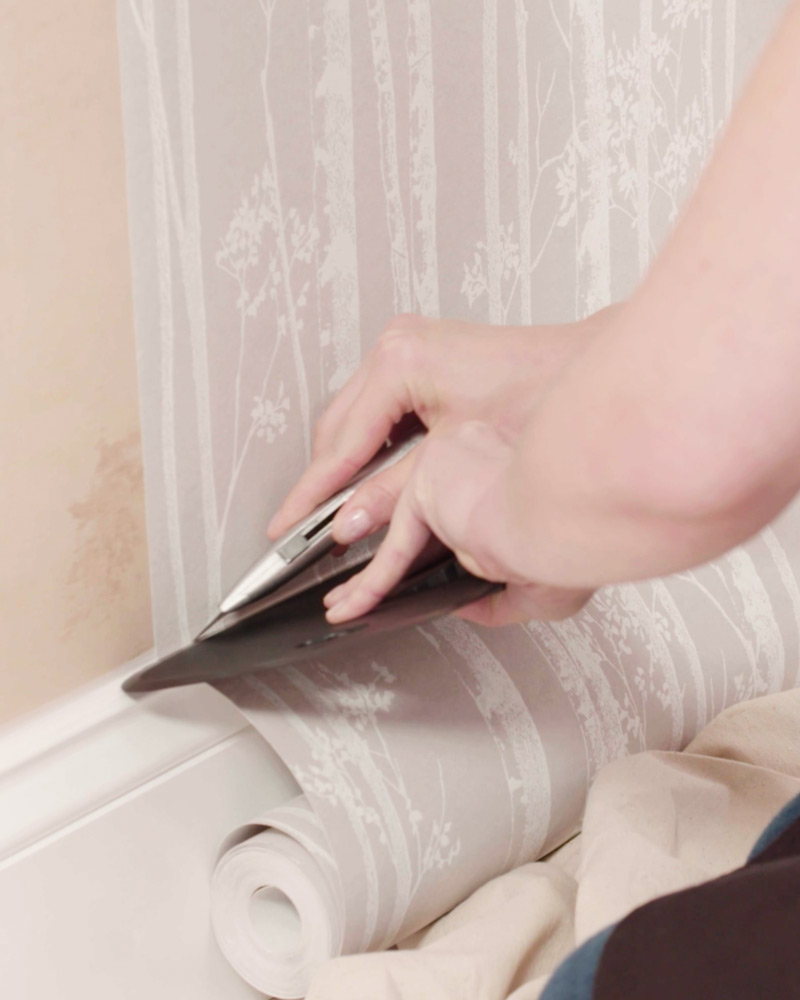 |
| 6. For the second drop – look to see where the paper matches (the point at which the design fits together along the edges of the wallpaper). | |
| 7. Starting at the top match the paper as you hang it dry from the roll – lightly brushing the paper to the wall as you go. The paper will slide into place on the paste. | |
|
8. When you get to the bottom of the wall – check the pattern matches, and there are no gaps. If there are bubbles, or mismatches, just loosely pull the paper back and brush it back down. The paper is forgiving! If it matches your nearly there. TRIM AS BEFORE AND YOU'RE DONE! |
|
| 9. Repeat until you’re done. Don’t worry about taking breaks or giving up for the night. You can pick up wherever you left off – just make sure to reapply the paste. |